Step 1: Create the new Collection
-
Navigate to "Collections" in the left navigation.
-
Review the list of existing Collections.
-
Select the "+ New collection" button in the top right corner.
-
Enter a clear name for the Collection in the pop up window.
-
Select "Create" to confirm.
Note: Use a descriptive name so you can easily identify the Collection later.
Step 2: Configure details and settings
-
Review the "Details" section. This shows the name of the Collection and allows you to connect the Collection to pages where it will be used.
-
Review the "Status" panel on the right:
-
Set the status of the Collection such as Active
-
Enter a Publication date and an Expiration date for time based content
-
-
Add tags to the Collection to improve search and filtering in the backend.
Caution: If you add an expiration date the Collection will no longer appear on connected pages after that date.
Step 3: Add content to the Collection
-
Select the "Content" tab at the top of the details page.
-
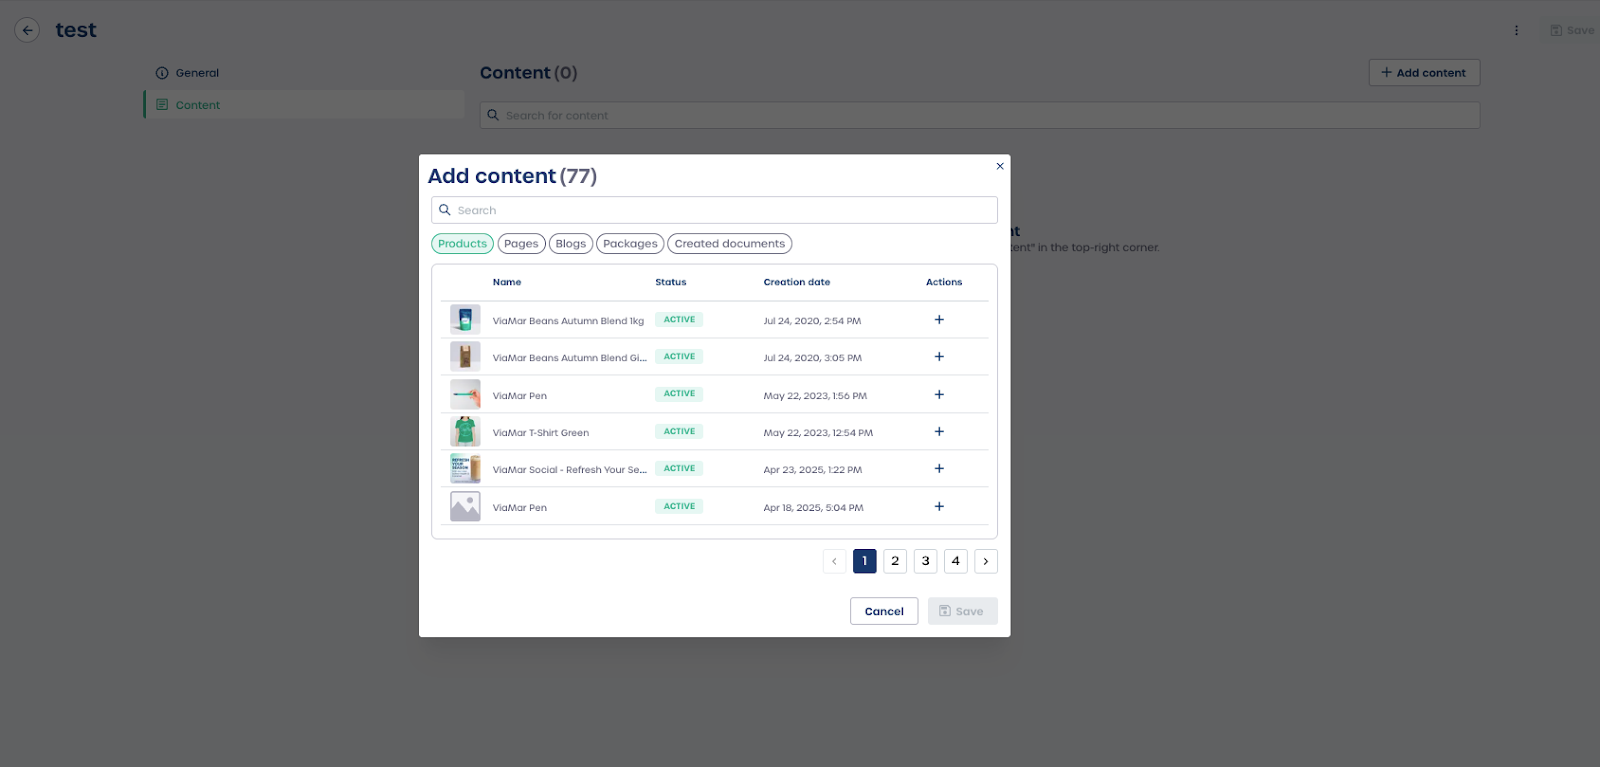
Select the "+ Add content" button in the top right corner.
-
Use the pop up window to browse or search for items such as Products, Pages, Blogs, Packages, or Created documents.
-
Select the "+" button next to each item you want to include.
-
When finished select "Save" to add all selected items to the Collection.
Your new Collection is now created and ready to use on your website.