Step 1. Select the HTML element
-
Navigate to "Pages" in your CMS.
-
Select the page you want to edit.
-
Select the "Content" tab.
-
Click the HTML element to add it to the page.
The configuration panel opens on the right.
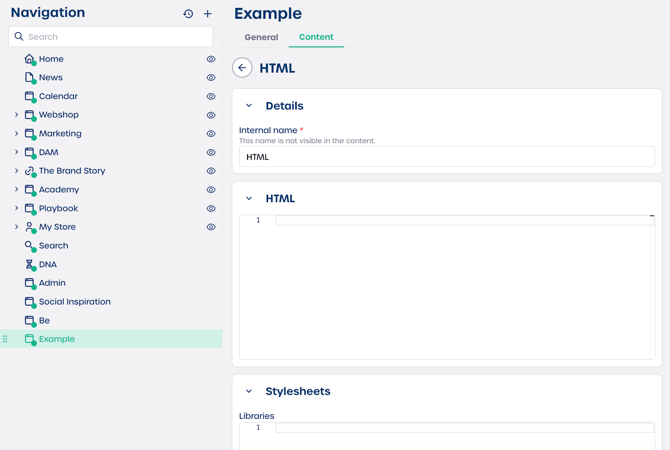
Step 2. Configure the HTML element
You will see three fields you can update.
Details
Enter an internal name that helps you recognize the block in the backend. For example, YouTube embed or Custom widget. This name is not visible on the live page.
HTML
Paste your custom code into the editor. You can use HTML, CSS or JavaScript. The system will render your code directly on the page.
Caution: Incorrect or incomplete code can affect the layout of your page.
Stylesheets
Add any external CSS libraries or files that your custom code needs. Use this section only when you want to load additional styles for your HTML element.
Step 3. Finalize your custom code
-
Review your code for errors.
-
Click "Save".
-
Select "Preview" to confirm that the HTML renders as expected.
⚠️ Important: Always test scripts or embeds before publishing the page to ensure they work safely and correctly.
Tips
-
Keep your internal names simple so you can identify each HTML block quickly.
-
When using third party embed codes, copy them exactly as provided.
-
Use stylesheets only when needed to avoid unnecessary loading on your page.