Step 1. Select the Contact element
-
Navigate to "Pages" in your CMS.
-
Select the page you want to edit.
-
Select the "Content" tab.
-
Click the Contact element to add it to the page.
The configuration panel opens automatically.
Step 2. Configure the form and confirmation
Details
Enter an internal name for the form. You can also enter an introduction text that appears above the form on the page.
Confirmation
Choose how the user is notified after submitting the form.
-
Thank you message
Toggle this on to show an on screen confirmation, for example Thank you for reaching out. -
Confirmation email
Toggle this on to send an automatic confirmation email to the user.
Note: You can enable one or both confirmation options.
Step 3. Set the recipients
Define who receives the submitted messages.
Mail to name
Enter the friendly name that appears as the primary recipient in the notification email.
To
Enter one or more email addresses that should receive all form submissions.
CC
Add email addresses that should receive a courtesy copy.
BCC
Add email addresses that should receive a blind courtesy copy.
⚠️ Important: Make sure all email addresses are valid so messages are delivered correctly.
What the user sees
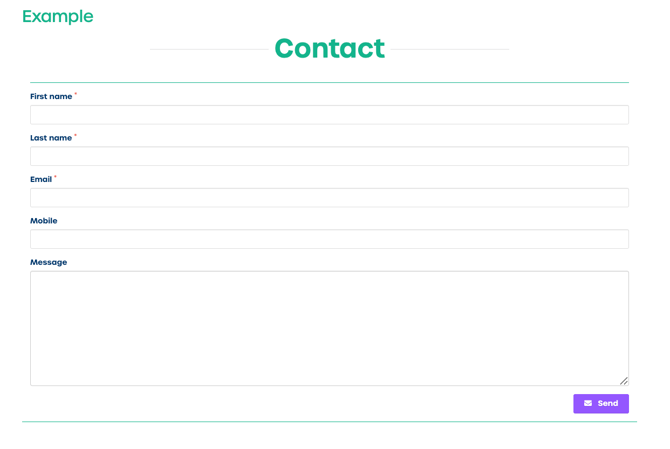
When you preview the page you will see the standard contact fields:
-
First name
-
Last name
-
Email
-
Mobile
-
Message
If you want to customize these fields you can use the creative workflow instead.